Upgrading the video card in your laptop can significantly improve graphics performance, enabling better gaming and multimedia experiences. While many laptops have integrated video cards that can’t be changed, some models allow for more flexibility. This guide will walk you through the process, including necessary tools, tips for safety, and detailed instructions on how to swap out your laptop’s video card.
Understanding Your Laptop’s Video Card Compatibility
Before you open up your laptop, it’s crucial to ensure that your model supports video card upgrades. Check your laptop’s user manual or visit the manufacturer’s website for detailed specifications.
| Laptop Brand | Upgradable Video Card | Notes |
|---|---|---|
| Dell Alienware | Yes | Check specific models |
| HP Omen | Yes | Varies by model |
| Asus ROG | Yes | Limited options |
| Lenovo Legion | No | Integrated GPU |
Tools You Will Need
- Precision screwdriver set
- ESD wrist strap
- Thermal paste
- Compressed air
- Small container for screws
Safety Precautions
Your safety and the integrity of your laptop are paramount. Be sure to follow these precautions:
- Power off your laptop and unplug it from any power source.
- Remove the battery if possible.
- Wear an ESD wrist strap to prevent static discharge from damaging components.
- Work on a clean, flat surface.
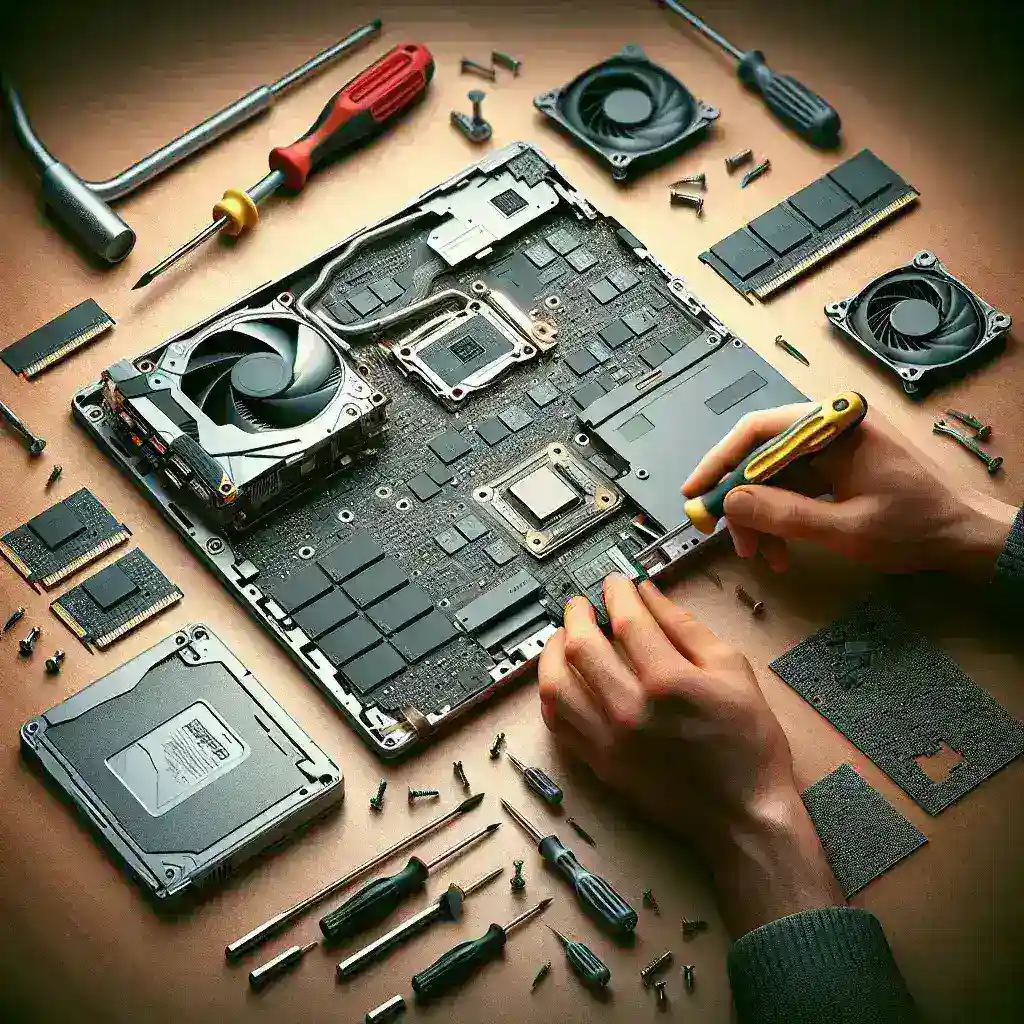
Step-by-Step Guide to Swapping Out Your Laptop’s Video Card
Step 1: Open the Back Panel
Most laptops have a back panel secured with screws. Use your precision screwdriver to carefully remove these screws and set them aside in a small container.
Step 2: Locate the Video Card
The video card is usually located near the cooling system. Refer to your laptop’s service manual for exact placement.
Step 3: Remove the Existing Video Card
Use a screwdriver to unscrew any brackets or securing mechanisms holding the video card in place. Gently lift the card out of its slot.
Step 4: Insert the New Video Card
Gently insert the new video card into the same slot. Make sure it’s firmly seated and secure it with the screws or brackets you removed earlier.
Step 5: Apply Thermal Paste
If your video card comes with a heatsink, apply a small amount of thermal paste to the GPU chip. This helps in effective heat dissipation.
Step 6: Reassemble and Test
Replace the back panel and secure it with screws. Reinsert the battery and power on your laptop to check if the new video card is working.
Troubleshooting Common Issues
- No Display: Make sure the video card is securely seated and connected properly.
- Overheating: Check if thermal paste is applied correctly and ensure the cooling system is working efficiently.
- Driver Issues: Download and install the latest drivers from the video card manufacturer’s website.
Additional Tips
- Keep your drivers up to date for optimal performance.
- Regularly clean the cooling fans and vents to prevent overheating.
- Consider professional help if you’re unsure about any step in the process.
By following these steps and precautions, you can successfully upgrade your laptop’s video card, boosting its performance and extending its usability. Happy upgrading!