Introduction
If you find yourself constantly in virtual meetings or producing high-quality videos, optimizing lighting for your HD webcam is crucial. Good lighting can make a world of difference in video quality, ensuring you look professional and polished. This article dives into the various ways you can achieve optimal lighting for your HD webcam.
Key Factors to Consider for HD Webcam Lighting
- Room Lighting
- Natural Light vs Artificial Light
- Types of Light Bulbs
- Placement of Lights
- Use of Accessories
Room Lighting
A well-lit room can provide a good base for your lighting setup. However, the type and positioning of lights are just as important. Factors such as the size of the room, wall colors, and existing light sources can significantly impact your setup.
Natural Light vs Artificial Light
| Aspect | Natural Light | Artificial Light |
|---|---|---|
| Availability | Limited to daytime | Anytime |
| Control | Less controllable | Fully controllable |
| Consistency | Variable | Consistent |
| Cost | Free | Varies |
While natural light is great for its quality and free cost, it’s inconsistent and only available during the day. Artificial light, on the other hand, provides consistency and control.
Types of Light Bulbs
Understanding the different types of light bulbs can greatly improve your lighting setup. Here are popular options:
- LED bulbs: Known for energy efficiency and longevity, they produce a stable, flicker-free light.
- Incandescent bulbs: These provide a warm light but consume more energy and have a shorter lifespan.
- Fluorescent bulbs: Less commonly used for webcam lighting due to flickering issues, but can be cost-effective.
Placement of Lights
The positioning of lights is crucial. The aim is to eliminate shadows and ensure even lighting across your face.
Three-Point Lighting
The most recommended setup is the three-point lighting system, consisting of a key light, fill light, and backlight:
- Key Light: This is the primary light source, placed at a 45-degree angle to your face.
- Fill Light: Positioned opposite the key light to minimize shadows.
- Backlight: Placed behind you to distinguish you from the background.
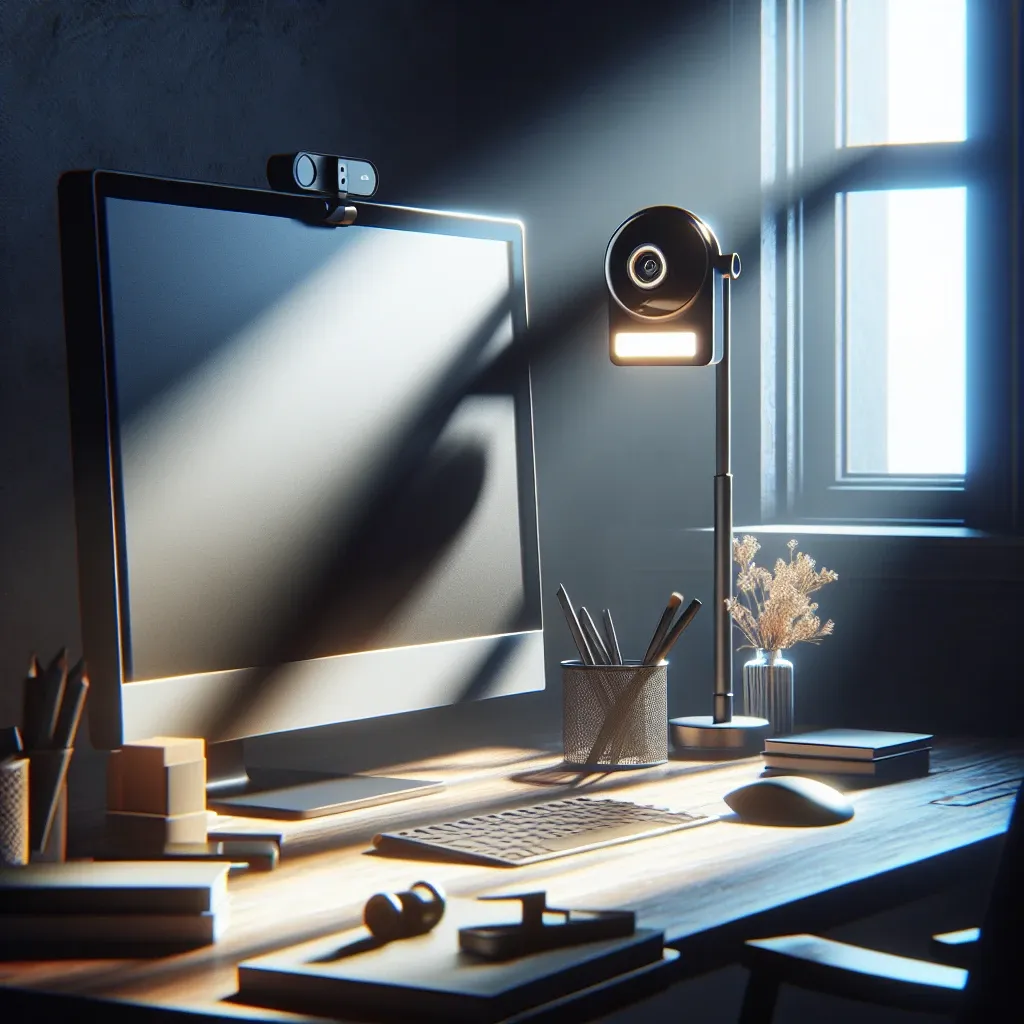
Use of Accessories
Accessories like diffusers, reflectors, and ring lights can further optimize your webcam lighting.
- Diffusers: Soften the light to prevent harsh shadows.
- Reflectors: Redirect light to fill in shadows.
- Ring Lights: Provide even lighting, ideal for close-up shots.
Practical Tips for Optimizing Webcam Lighting
- Choose the Right Background: A plain background minimizes distractions and helps focus the light on you.
- Test Your Setup: Always do a test run to adjust the lighting and camera settings.
- Avoid Mixed Lighting: Stick to either natural or artificial lights to prevent color imbalance.
- Consider Soft White Bulbs: These provide a natural look, reducing the bluish tint common with daylight bulbs.
Conclusion
Optimizing lighting for your HD webcam involves a mix of understanding your environment and choosing the right equipment. With the tips provided, you’ll be well on your way to producing high-quality video content that stands out.